
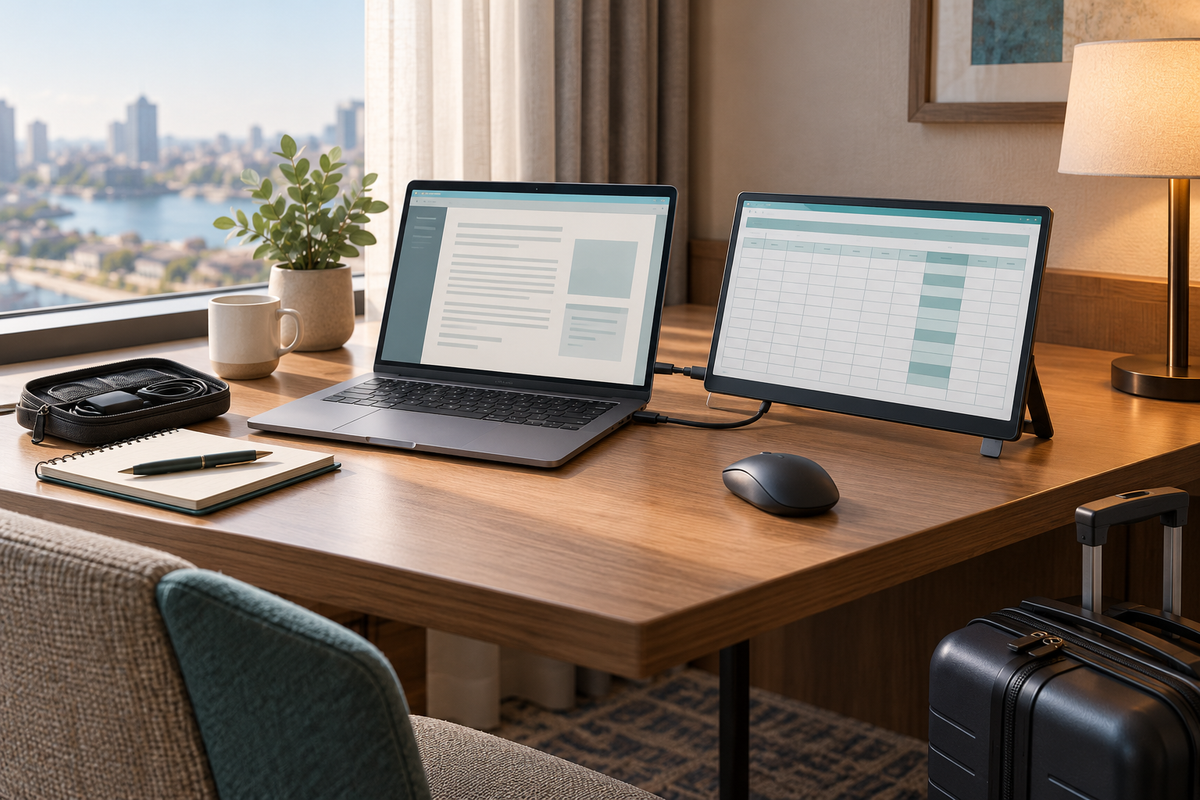
A laptop screen extender for travel is useful when your work needs two things visible at once: a report and its source data, a document and review notes, or a call and the material you are discussing. At a hotel desk, the challenge is making that arrangement work with limited space, unfamiliar power outlets, and the equipment you actually packed.
This guide walks through a practical hotel desk setup, from a rehearsal at home to packing up for checkout. Start with the smallest screen arrangement that supports your work, then add display space only when the desk and your laptop can accommodate it.
Choose a layout for the work you will do
Before packing extra screens, decide what you want to keep open during the trip. These example layouts are a starting point, not a requirement to use every available display.
| Your task | Main working screen | Additional screen |
|---|---|---|
| Review a report | The document you are editing | The spreadsheet or reference file |
| Prepare a client presentation | Slides in edit view | Notes, research, or the brief |
| Work through a support queue | The conversation you are answering | Relevant product documentation |
Give the screen directly in front of you to the task you edit most. Keep reference material nearby. If you only need to read email for a few minutes between appointments, the laptop alone may be the more convenient setup. Extra equipment earns its place when it supports a recurring task during a longer work session.
Rehearse the complete setup before departure
Build the setup once using the exact laptop, cables, charger, and accessories you will take. Open your normal work files, move a window between screens, reconnect after sleep, and check that the arrangement still works while the laptop is charging. Take a photo of the working connections and save it on your phone.
For a native USB-C video connection, check the laptop port, display, and cable specifications together. A USB-C connector's shape does not establish video support. Microsoft's USB-C guidance explains that the required display features must be supported throughout the connection. Some extenders use a software-based connection instead; follow that model's driver and power instructions.
For a Mac, verify your exact model and intended display configuration. Apple's external-display guidance notes that supported display counts depend on the Mac model, resolution, and refresh rate. If your extender needs software, install and test it before leaving. Ask your IT team about installation permissions when using a managed work laptop.
Pack the proven setup as one kit: protected display, required support, tested cables, specified power supply, and any adapter you actually used. Keep loose plugs away from screen surfaces. If you carry a spare cable, test it too; a charging cable that looks identical may not replace your video cable.
Set up your hotel desk in five steps
- Clear and check the surface. Make room for the full stand or support, the laptop, and your hands. Check that the desk is stable. Position equipment so cables do not cross a walkway or pull against the connectors.
- Place the laptop first. Sit where you expect to work and leave comfortable keyboard and mouse space. Add the external display close enough to read without continually leaning forward. Turn the setup away from direct window glare where possible.
- Connect power and video as documented. Recreate the arrangement you tested at home, including any separate power supply. A display lighting up does not prove every part of a multi-screen configuration is ready.
- Set the desktop arrangement. On Windows, use Windows + P and choose Extend when you want separate workspaces, then arrange the displays in Settings. Microsoft's multiple-monitor guide shows the relevant controls. On a Mac, open System Settings > Displays to review your arrangement.
- Run one real task. Move your report and reference file into position. Check text readability and pointer movement. Before a meeting, preview exactly which window or display your call app will share.
If the full arrangement crowds the desk, use a smaller configuration that your device supports or move to a more suitable workspace. Do not leave a stand partly off the surface or force a mount to fit. A travel setup should remain practical after you add the ordinary things you need, such as a notebook and room to move the mouse.

Fix common problems before your meeting starts
| What you see | What to check first |
|---|---|
| Both screens show the same thing | Check whether your operating system is set to mirror or duplicate. Select an extended desktop for separate windows. |
| The external display stays blank | Check power, the selected display input, and the tested cable connection. Follow the display maker's troubleshooting instructions. |
| The pointer exits on the wrong side | Rearrange the display icons in your operating system to match their physical positions. |
| One panel works but the others do not | Recheck the exact model's power, software, and supported display configuration. Do not assume working video on one panel verifies all of them. |
Change one part of the setup at a time so you can identify what helped. If a hub or adapter was not part of your working rehearsal, return to the documented connection you already tested when possible. Keep the manufacturer's support instructions accessible rather than improvising a new configuration just before a call.
When a larger travel workstation makes sense
A single portable display can be enough for a document and reference window. If you spend several days working from the same hotel desk and regularly need more material visible, a larger extender may be worth considering alongside its packed weight and setup requirements.
Flexpire GemScreen 15.6-inch provides three external screens, making four displays when used with the laptop screen. The current product specification lists a weight of 5 pounds, and its FAQ states that macOS requires manual driver installation. Include the power supply and accessories when assessing your travel kit, and confirm the connection plan for your exact laptop before ordering.
For a comparison of formats, mounting, and fit, read our trifold laptop screen extender buying checklist. Use this hotel setup guide to plan how you will work once you arrive.
Before you pack up for checkout
Save your work, disconnect cables without pulling on their connectors, and fold or remove supports in the manufacturer's recommended order. Return each item to the same place in your kit. Check the wall outlet and the area behind the desk for chargers before closing the bag.
The useful travel screen extender for your laptop is the one you can connect reliably and arrange comfortably in the places you actually work. Test the full kit before departure, give each screen a clear job, and keep the setup simple enough to repeat at your next stop.

השארת תגובה
This site is protected by hCaptcha and the hCaptcha Privacy Policy and Terms of Service apply.